Why You’ll Love This Recipe
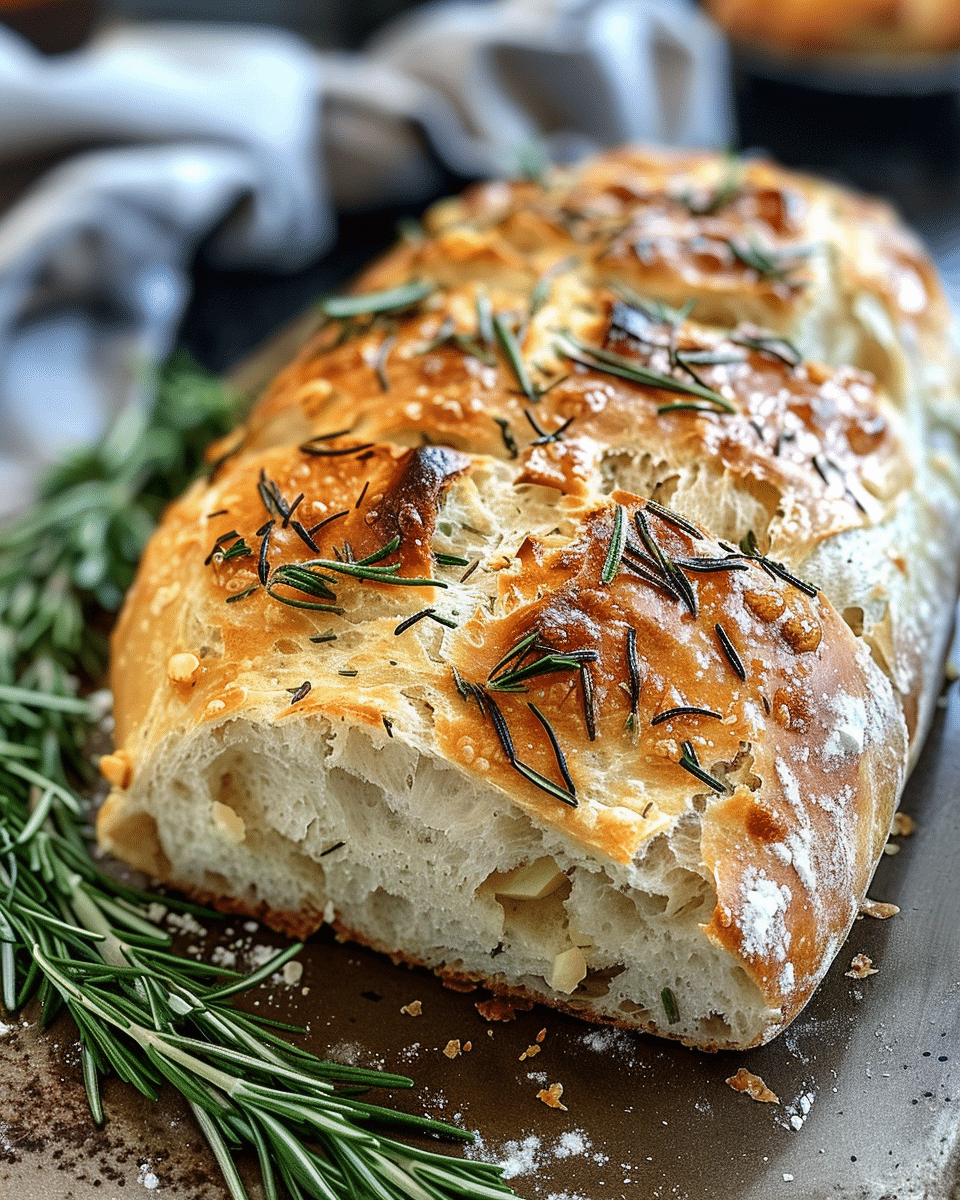
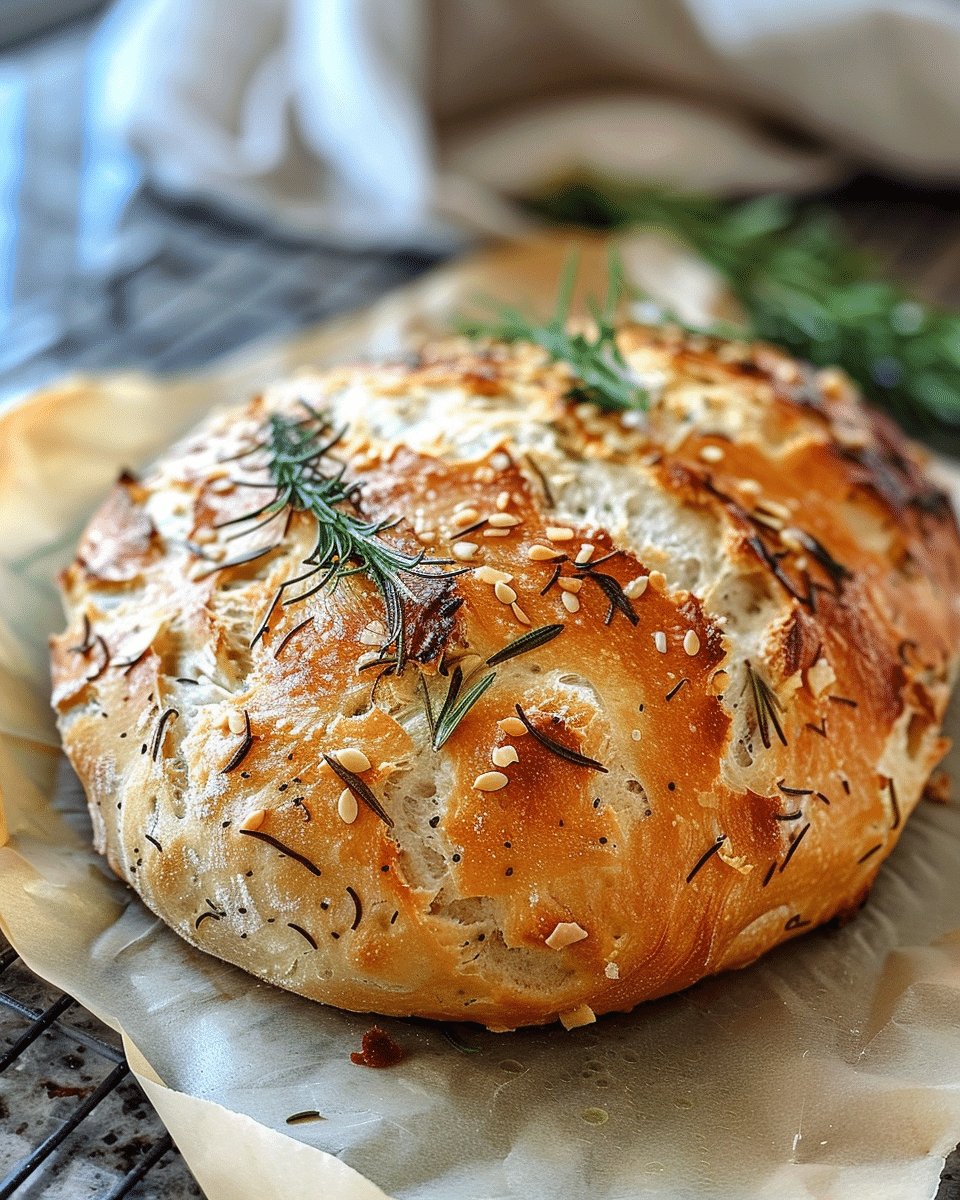
This bread is a dream for those who want homemade, artisan bread without the hassle of kneading. The flavors of rosemary and garlic permeate every bite, making it a fantastic accompaniment to soups, stews, or just enjoyed with butter. The long fermentation process allows the dough to develop complex flavors, and the Dutch oven baking method gives it that signature crisp crust. Best of all, it’s almost entirely hands-off, making it perfect for busy home bakers.
Ingredients
- 3 cups all-purpose flour
- 1 ½ teaspoons salt
- 1 teaspoon active dry yeast
- 1 tablespoon fresh rosemary, chopped (or 1 tablespoon dried rosemary)
- 3 cloves garlic, minced
- 1 ¼ cups warm water
- 1 tablespoon olive oil
(Tip: You’ll find the full list of ingredients and measurements in the recipe card below.)

Directions
1. Prepare the Dough
In a large mixing bowl, combine the flour, salt, and yeast. Stir in the chopped rosemary and minced garlic for added flavor. Gradually add the warm water and olive oil, stirring until a sticky dough forms. The dough should be fairly wet and shaggy.
2. Rest the Dough
Cover the bowl with plastic wrap and let the dough rest at room temperature for 12-18 hours. The dough will rise, become bubbly, and develop flavor as it ferments. This long resting period is key to achieving a soft crumb and the characteristic texture.
3. Shape the Dough
Once the dough has rested and is bubbly and soft, turn it out onto a floured surface. Gently shape it into a round loaf. Try not to handle the dough too much to maintain its airy texture. If needed, use minimal flour to shape the dough.
4. Second Rise
Place the shaped dough onto a piece of parchment paper. Let it rise for an additional 30-40 minutes, allowing the dough to relax and rise further.
5. Preheat the Oven
While the dough is rising, preheat your oven to 450°F (230°C). Place a Dutch oven (or any oven-safe pot with a lid) inside the oven while it’s heating up. The hot Dutch oven will help create a crispy crust.
6. Bake the Bread
Once the dough has risen, carefully transfer the dough (still on the parchment paper) into the preheated Dutch oven. Cover the pot with the lid and bake for 30 minutes. After 30 minutes, remove the lid and continue to bake for an additional 10-15 minutes, or until the crust is golden brown and crispy.
7. Cool and Serve
Allow the bread to cool for at least 10-15 minutes before slicing. This will give the crumb a chance to set and make slicing easier. Serve the bread warm with butter, olive oil, or alongside your favorite dish!
Servings and Timing
- Servings: 10 slices
- Prep Time: 10 minutes
- Cook Time: 40-45 minutes
- Total Time: 13-19 hours (includes fermentation time)
Variations
- Add-ins: For extra flavor, try adding sun-dried tomatoes, black olives, or shredded Parmesan to the dough before the first rise.
- Different Herbs: Feel free to swap the rosemary for thyme, oregano, or a mix of your favorite herbs.
- Garlic Butter: For extra garlic flavor, brush the top of the loaf with garlic butter after baking.
Storage
- Storage: Store leftover bread in an airtight container at room temperature for up to 2 days. If you want to keep it for longer, wrap it tightly and freeze for up to 3 months.
- Reheating: To refresh the bread, simply warm it in the oven at 350°F (175°C) for 5-10 minutes.
FAQs
Can I use a different type of flour?
Yes, you can substitute part of the all-purpose flour with whole wheat flour or bread flour. Whole wheat flour will give the bread a heartier texture and flavor.
Can I use instant yeast instead of active dry yeast?
Yes, you can substitute instant yeast for active dry yeast. There’s no need to proof instant yeast, so you can add it directly to the flour mixture.
Do I need a Dutch oven to bake this bread?
While a Dutch oven is ideal for creating a crispy crust, you can also use a heavy oven-safe pot with a lid or even a baking sheet. Just cover the dough with foil to create steam during baking.
Can I add more garlic to the bread?
Absolutely! If you love garlic, feel free to add more minced garlic to the dough to suit your taste.
How do I know when the bread is done?
The bread should be golden brown on top with a crisp crust. You can also tap the bottom of the loaf—if it sounds hollow, it’s done. Alternatively, use a thermometer to check the internal temperature, which should be around 200°F (93°C).
Conclusion
Rustic No-Knead Rosemary Garlic Bread is a simple yet flavorful bread that’s easy to make, even for beginners. The combination of rosemary, garlic, and olive oil creates a savory, aromatic loaf that’s perfect for any meal. Whether served as a side with dinner or enjoyed with a drizzle of olive oil, this bread is sure to be a hit in your kitchen!

Rustic No-Knead Rosemary Garlic Bread
- Prep Time: 10 minutes
- Cook Time: 40-45 minutes
- Total Time: 13-19 hours (includes fermentation time)
- Yield: 10 slices
- Category: Bread
- Method: Baking
- Cuisine: American
- Diet: Vegetarian
Description
Rustic No-Knead Rosemary Garlic Bread is an artisan-style loaf with a golden, crispy crust and soft, airy crumb. Infused with rosemary and garlic, this simple yet impressive bread is perfect for soups, stews, or just with butter.
Ingredients
3 cups all-purpose flour
1 ½ teaspoons salt
1 teaspoon active dry yeast
1 tablespoon fresh rosemary, chopped (or 1 tablespoon dried rosemary)
3 cloves garlic, minced
1 ¼ cups warm water
1 tablespoon olive oil
Instructions
- In a large mixing bowl, combine the flour, salt, and yeast. Stir in the chopped rosemary and minced garlic.
- Gradually add the warm water and olive oil, stirring until a sticky dough forms. The dough should be fairly wet and shaggy.
- Cover the bowl with plastic wrap and let the dough rest at room temperature for 12-18 hours.
- Once the dough has rested, turn it out onto a floured surface and gently shape it into a round loaf.
- Place the shaped dough on a piece of parchment paper and let it rise for 30-40 minutes.
- Preheat your oven to 450°F (230°C), placing a Dutch oven inside while it heats.
- Once the dough has risen, carefully transfer it into the preheated Dutch oven (still on the parchment paper). Cover with a lid and bake for 30 minutes.
- After 30 minutes, remove the lid and bake for an additional 10-15 minutes until the crust is golden brown and crispy.
- Allow the bread to cool for 10-15 minutes before slicing and serving.
Notes
For added flavor, try adding sun-dried tomatoes, black olives, or Parmesan before the first rise.
Swap rosemary for thyme, oregano, or your favorite herbs for a different flavor profile.
Brush the top of the loaf with garlic butter after baking for extra garlic flavor.
Nutrition
- Serving Size: 1 slice
- Calories: 150
- Sugar: 0g
- Sodium: 300mg
- Fat: 3g
- Saturated Fat: 0g
- Unsaturated Fat: 3g
- Trans Fat: 0g
- Carbohydrates: 28g
- Fiber: 2g
- Protein: 5g
- Cholesterol: 0mg


