Why You’ll Love Cinnamon Applesauce Ornaments Recipe
I love how approachable these ornaments are because the dough comes together with simple pantry and craft supplies. I do not need any complicated equipment, and I can shape the ornaments with ordinary cookie cutters.
I also enjoy how customizable they are. I can make traditional Christmas shapes, personalize them with names or dates, or decorate each one differently after it dries.
The cinnamon fragrance is another reason I enjoy making them. Ground cinnamon and optional cloves create a warm holiday scent that can last long after the ornaments have dried.
I find this craft especially useful for homemade gifts, family activities, keepsakes, gift tags, and Christmas tree decorations. Since the dough contains school glue, I always treat the finished ornaments as decorative and not edible.
Ingredients
(Note: All ingredient amounts are listed in the recipe card below.)
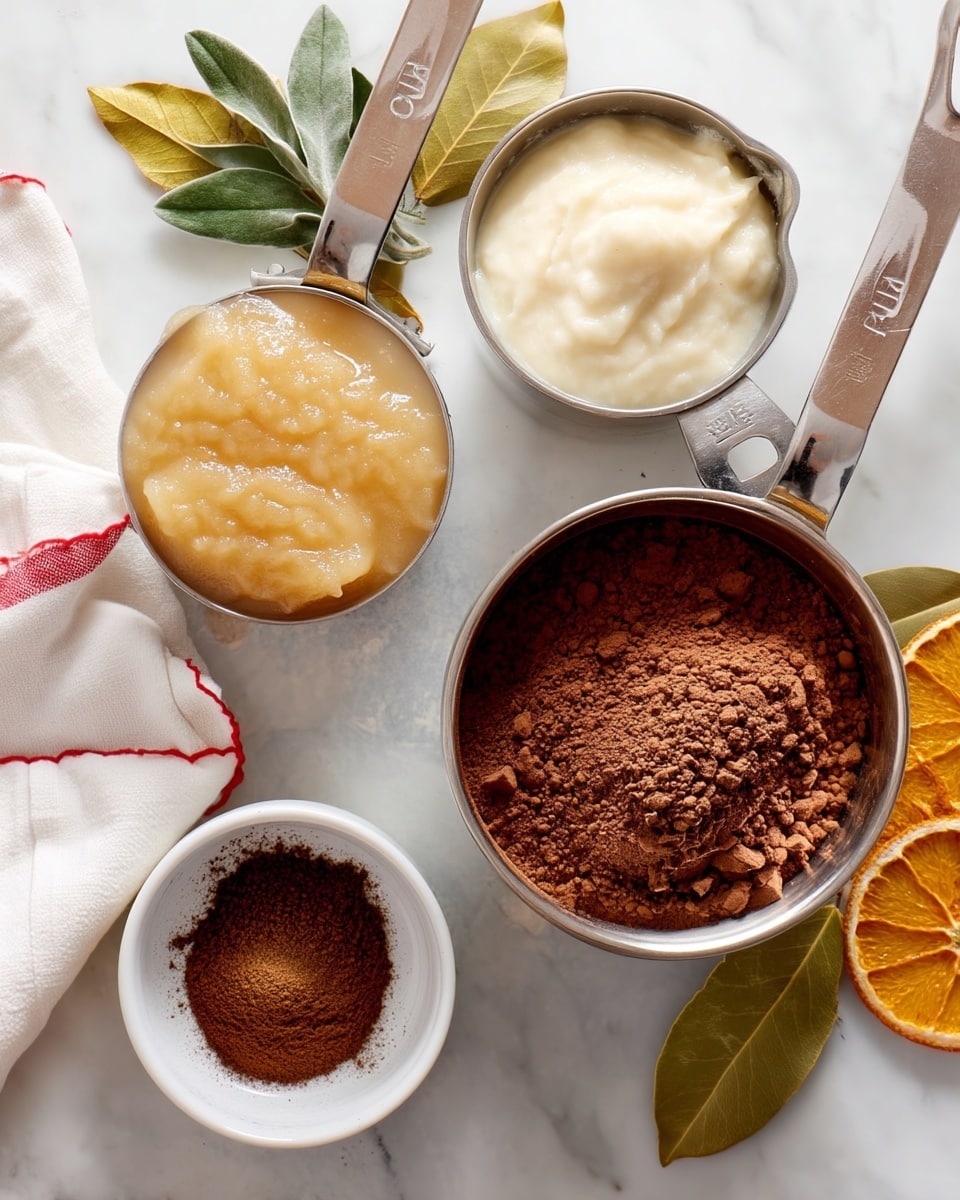
1 cup (240 g) applesauce
1 to 1¼ cups (about 130 g) ground cinnamon
1 tablespoon ground cloves (optional, for a deeper fragrance)
2 tablespoons white school glue (like Elmer’s)
Optional: 1 teaspoon cornstarch (helps them dry faster in humid climates)
Directions
Make the Dough
In a medium mixing bowl, I combine 1 cup applesauce, 1 to 1¼ cups ground cinnamon, 1 tablespoon ground cloves if I am using them, 2 tablespoons white school glue, and 1 teaspoon cornstarch if the air is humid.
I stir the mixture until it begins coming together. Since it becomes thick quickly, I switch to using my hands once it becomes difficult to mix with a spoon.
I work the mixture until it feels firm but pliable, similar to soft modeling clay. If the dough feels too wet, I add more cinnamon 1 tablespoon at a time. If it feels too crumbly, I mix in a small amount of additional applesauce.
Once the dough holds together without sticking excessively to my hands, I wash my hands and clear a workspace for rolling.
Roll & Cut
I place about one-third of the dough between two sheets of plastic wrap.
Using a rolling pin, I roll the dough to approximately ¼ to ⅓ inch thick.
I peel away the top sheet of plastic wrap and cut the dough with my favorite cookie cutters. I transfer each shape carefully to a baking rack or parchment-lined baking sheet.
I use a drinking straw to make a small hole near the top of every ornament so I can thread ribbon or a hook through it later.
I repeat the process with the remaining dough, gathering and rerolling scraps until I have used as much as possible.
Quick-Dry Method (Oven)
I preheat the oven to 200°F (95°C).
I arrange the ornaments on a baking rack positioned over a baking sheet so air can circulate around them.
I dry the ornaments for about 2½ hours, flipping them halfway through to help prevent curling.
I do not worry if a few small bubbles or rough edges appear because they add a handmade, rustic appearance.
Slow-Dry Method (Air Dry)
If I prefer not to use the oven, I place the ornaments on racks or parchment paper in a dry area with good airflow.
I let them air dry for 2 to 4 days, turning them once or twice during that time so they dry more evenly.
To Finish
Once the ornaments are completely dry and cool, I can gently smooth any rough edges with fine-grit sandpaper if I want a cleaner finish.
I decorate them however I like. I can use glitter, puffy paint, rhinestones, or other craft decorations, or I can leave them plain for a classic cinnamon look.
For a more natural style, I like tying them with twine or ribbon. I can also pair them with dried orange slices or bay leaves.
I write the year on the back with a permanent marker if I want to turn them into keepsakes.
Finally, I thread ribbon, twine, or an ornament hook through the hole and hang them once everything is completely dry.
Servings and Timing
This recipe makes approximately 18 to 24 ornaments, depending on the size and thickness of the shapes I cut.
Prep Time: 20 minutes
Dry Time: 2 hours 30 minutes using the oven method
Total Time: 2 hours 50 minutes using the oven method
Air-Dry Time: 2 to 4 days
Yield: 18 to 24 ornaments
Difficulty: Easy
Estimated Cost: Varies
I keep in mind that larger or thicker ornaments may require additional drying time. Humidity can also slow the process, especially when I use the air-dry method.
Variations
I can leave out the ground cloves if I want a straightforward cinnamon fragrance. When I include them, I get a slightly deeper and spicier scent.
For humid weather, I like adding the optional cornstarch because it can help the ornaments dry more efficiently.
I can use different cookie cutters to match a theme. Stars, gingerbread people, snowflakes, bells, trees, hearts, and animals all work well.
For personalized ornaments, I can press initials, names, dates, or simple patterns into the dough before drying. I make sure the impressions are deep enough to remain visible once the ornaments harden.
I can decorate the dried ornaments with puffy paint to imitate icing, but I still treat them strictly as decorations because the dough contains glue.
For a rustic finish, I leave the ornaments undecorated and simply add twine or neutral-colored ribbon.
If I want more sparkle, I can add glitter or rhinestones after the ornaments have dried completely.
I can also use smaller cutters to create gift tags. I write a recipient’s name on the back and tie the ornament directly onto a wrapped present.
Storage/Reheating
I store completely dry ornaments wrapped gently in tissue paper and placed inside an airtight container. I then keep the container in a cool, dry location until the next holiday season.
I avoid storing them anywhere damp because moisture can soften the ornaments or encourage damage over time. I also make sure they are fully dry before packing them away.
I can place the wrapped ornaments in a sturdy shoebox or similar container to help prevent cracking and breakage.
These ornaments do not require reheating. If they absorb a little moisture during storage, I can place them in a dry, well-ventilated area for a while before hanging them again.
Because the recipe includes white school glue, I never eat the ornaments or use them as edible decorations.
FAQs
Are Cinnamon Applesauce Ornaments edible?
No. I do not eat these ornaments because the dough contains white school glue. I treat them strictly as decorative holiday crafts.
How long do Cinnamon Applesauce Ornaments take to dry?
Using the oven method, I allow approximately 2½ hours at 200°F. If I air dry them instead, I allow about 2 to 4 days depending on thickness, airflow, and humidity.
Why is my ornament dough too sticky?
If my dough feels too wet or sticky, I add a little more ground cinnamon, about 1 tablespoon at a time, until it becomes firm and pliable.
What should I do if the dough is too crumbly?
If the dough will not hold together, I mix in a very small amount of additional applesauce. I add it gradually because too much can make the dough sticky.
How thick should I roll the dough?
I roll the dough approximately ¼ to ⅓ inch thick. I find that this thickness helps the ornaments stay sturdy while still allowing them to dry properly.
How do I stop the ornaments from curling?
When oven drying, I place the ornaments on a baking rack and flip them halfway through the drying time. This helps both sides dry more evenly and reduces curling.
Can I make these ornaments without cloves?
Yes. I can leave out the cloves completely. The cinnamon alone provides plenty of fragrance.
Can I air dry the ornaments instead of baking them?
Yes. I can leave the ornaments in a dry location with good airflow for 2 to 4 days. I turn them once or twice while they dry.
How can I decorate Cinnamon Applesauce Ornaments?
Once completely dry, I can decorate them with glitter, puffy paint, rhinestones, markers, ribbon, twine, or other lightweight craft materials. I can also leave them plain.
How long do Cinnamon Applesauce Ornaments last?
I can keep them for years when I store them carefully. I wrap each one in tissue paper, place them in an airtight container, and keep them somewhere cool and dry between holiday seasons.
Conclusion
These Cinnamon Applesauce Ornaments are an easy holiday craft I enjoy because they combine simple preparation with plenty of room for creativity. With applesauce, cinnamon, school glue, and a few optional additions, I can create homemade ornaments that look festive and carry a warm cinnamon fragrance.
Fragrant Cinnamon Applesauce Ornaments are an easy holiday craft made from applesauce, cinnamon, and school glue. Roll, cut, dry, and decorate them to create rustic Christmas ornaments, keepsakes, or gift tags.
Ingredients
1 cup (240 g) applesauce
1 to 1¼ cups (about 130 g) ground cinnamon
1 tablespoon ground cloves (optional, for a deeper fragrance)
2 tablespoons white school glue (like Elmer’s)
Optional: 1 teaspoon cornstarch (helps them dry faster in humid climates)
Instructions
In a medium mixing bowl, combine the applesauce, ground cinnamon, optional ground cloves, white school glue, and optional cornstarch.
Stir until the mixture begins to come together, then use your hands to work it into a firm but pliable dough similar to soft modeling clay. If it is too wet, add cinnamon 1 tablespoon at a time. If it is too crumbly, add a small amount of applesauce.
Place about one-third of the dough between two sheets of plastic wrap and roll it approximately ¼ to ⅓ inch thick.
Remove the top sheet of plastic wrap and cut the dough into shapes with cookie cutters. Carefully transfer the shapes to a baking rack or parchment-lined baking sheet.
Use a drinking straw to make a small hanging hole near the top of each ornament. Gather and reroll the scraps and repeat with the remaining dough.
For the oven method, preheat the oven to 200°F (95°C). Arrange the ornaments on a baking rack positioned over a baking sheet and dry for about 2½ hours, flipping halfway through. Allow them to cool and dry completely before decorating.
For the air-dry method, arrange the ornaments on racks or parchment paper in a dry, well-ventilated area. Air dry for 2 to 4 days, turning once or twice for even drying.
Once completely dry, gently smooth rough edges with fine-grit sandpaper if desired. Decorate with glitter, puffy paint, rhinestones, markers, or other lightweight craft supplies, or leave them plain.
Add a year, name, or other personalization with permanent marker if desired. Thread ribbon, twine, or an ornament hook through each hole and hang only after the ornaments and decorations are completely dry.
Notes
These ornaments contain white school glue and are strictly decorative. Do not eat them or use them as edible decorations.
Larger or thicker ornaments may require additional drying time, especially in humid conditions.
Adding the optional cornstarch can help with drying in humid climates.
Flip ornaments halfway through oven drying to encourage even drying and reduce curling.
Use stars, trees, gingerbread people, snowflakes, bells, hearts, animals, or other cookie cutter shapes.
Names, initials, dates, and patterns can be pressed into the dough before drying to create personalized keepsakes.
Store completely dry ornaments wrapped gently in tissue paper inside an airtight, sturdy container in a cool, dry location.
Properly dried and stored ornaments can last for years.