I like this recipe because it’s wholesome, gluten-free, and rich in protein while still being simple to prepare. The batter comes together quickly with soaked moong dal and spices, and I can easily change the flavor by adding different vegetables or herbs. For me, moong dal chillas are a guilt-free comfort food that’s nourishing and delicious.
Ingredients
(Note: All ingredient amounts are listed in the recipe card below.)
1 cup Moong Dal (Yellow Split Lentils) 1/2 inch Ginger, peeled 2-3 Green Chilies, finely chopped (adjust to your spice preference) 1/4 cup Coriander Leaves, finely chopped 1/4 teaspoon Asafoetida (Hing) 1/2 teaspoon Cumin Seeds (Jeera) 1/4 teaspoon Turmeric Powder (Haldi) Salt to taste Water, as needed Oil or Ghee, for cooking
Directions
I rinse the moong dal well until the water runs clear, then soak it in enough water for 4–5 hours or overnight.
After soaking, I drain the dal completely and blend it with ginger and green chilies, adding about 1/4 cup of water. I blend until I get a smooth, pourable batter, adding more water if needed.
I pour the batter into a mixing bowl and stir in asafoetida, cumin seeds, turmeric powder, coriander leaves, and salt. I mix well to ensure no lumps.
If the batter is too thick, I add a little more water to adjust the consistency. I sometimes let it rest for 15–20 minutes to enhance the flavor.
I heat a non-stick tawa (griddle) and grease it lightly with oil or ghee.
I pour a ladle of batter in the center and spread it gently in a circular motion into a thin pancake, about 6–8 inches wide.
I cook for 2–3 minutes until the bottom turns golden and the edges lift. I drizzle a little oil or ghee around the edges.
I flip the chilla carefully and cook the other side for 2–3 minutes until golden and cooked through.
I repeat the process with the remaining batter, greasing the tawa as needed.
I serve the chillas hot with green chutney, yogurt, or tomato ketchup. For extra heartiness, I sometimes stuff them with paneer bhurji, potato filling, or sautéed vegetables.
Servings and Timing
This recipe makes 6–8 chillas. It takes about 5 minutes to prep, 20 minutes to cook, for a total of 25 minutes (not including soaking time).
Variations
I like to add grated carrots, spinach, or onions to the batter for extra flavor and nutrition. A pinch of garam masala gives it a warm spice, while chopped mint leaves add freshness. Sometimes I make mini chillas for snacks or roll them up with fillings for a light lunch.
Storage/Reheating
I find chillas taste best fresh, but I can refrigerate leftovers in an airtight container for up to 2 days. To reheat, I place them on a hot tawa or skillet for a minute on each side to restore their crispness. I don’t recommend microwaving as it makes them soft.
FAQs
Can I use green moong dal instead of yellow?
Yes, whole green moong dal works too, though the texture will be slightly different.
Do I need to ferment the batter?
No, this batter doesn’t require fermentation—it’s ready to use right after soaking and blending.
Can I make the batter ahead of time?
Yes, I sometimes prepare it the night before and refrigerate it. I stir it well before cooking.
What fillings go well with chilla?
Paneer bhurji, spiced potatoes, sautéed vegetables, or even cheese make great fillings.
Can I skip the asafoetida?
Yes, it’s optional, though it adds a nice depth of flavor.
How do I keep the chillas from sticking?
I always use a non-stick tawa or well-seasoned cast-iron pan and make sure it’s greased lightly.
Can I make them oil-free?
Yes, I can cook them on a good non-stick tawa without oil, though they’ll be less crispy.
Can I freeze moong dal chillas?
I don’t recommend freezing cooked chillas, but I can freeze the soaked dal and blend it when needed.
How do I make them crispier?
I spread the batter thin and cook on medium-high heat until golden.
Can kids eat moong dal chillas?
Yes, they’re nutritious and kid-friendly. I just reduce the chilies or skip them for a milder version.
Conclusion
I love making moong dal chillas because they’re healthy, flavorful, and versatile. They’re quick to prepare, packed with protein, and easy to customize with spices or fillings. For me, they’re the kind of recipe that fits into any meal—breakfast, lunch, or snack—while keeping things both wholesome and delicious.
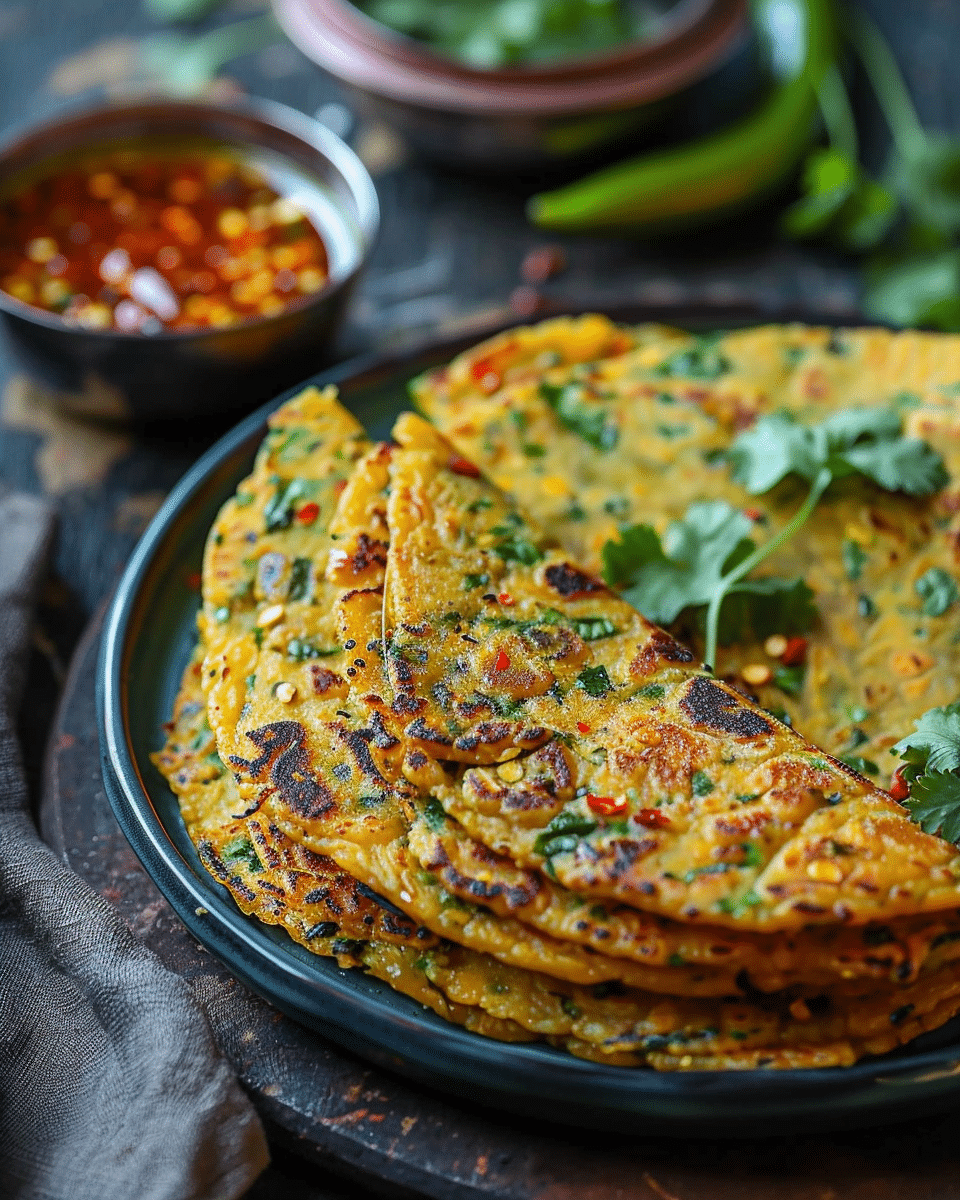
Savory, protein-rich Indian lentil pancakes made with yellow moong dal, spices, and herbs. These gluten-free chillas are light yet satisfying, perfect for breakfast, snacks, or a wholesome meal.
Ingredients
1 cup moong dal (yellow split lentils)
1/2 inch ginger, peeled
2–3 green chilies, finely chopped (adjust to taste)
1/4 cup coriander leaves, finely chopped
1/4 teaspoon asafoetida (hing)
1/2 teaspoon cumin seeds (jeera)
1/4 teaspoon turmeric powder (haldi)
Salt to taste
Water, as needed
Oil or ghee, for cooking
Instructions
Rinse moong dal until water runs clear. Soak in enough water for 4–5 hours or overnight.
Drain dal and blend with ginger and green chilies, adding about 1/4 cup water to form a smooth, pourable batter.
Transfer batter to a bowl. Stir in asafoetida, cumin seeds, turmeric, coriander leaves, and salt. Mix well.
Adjust consistency with water if too thick. Let batter rest 15–20 minutes if desired.
Heat a non-stick tawa or griddle. Lightly grease with oil or ghee.
Pour a ladle of batter in the center and spread into a thin pancake (6–8 inches).
Cook for 2–3 minutes until golden underneath. Drizzle oil/ghee around edges.
Flip and cook the other side for 2–3 minutes until golden.
Repeat with remaining batter. Grease tawa as needed.
Serve hot with green chutney, yogurt, or ketchup. Optionally stuff with paneer bhurji, potato filling, or sautéed vegetables.
Notes
Add grated carrots, onions, spinach, or mint for extra nutrition and flavor.
For spicier chillas, add a pinch of garam masala or red chili powder.
Cook on medium-high heat and spread thin for crispier chillas.
Best enjoyed fresh but can be refrigerated for up to 2 days.
Reheat on a tawa or skillet for 1 minute per side—avoid microwaving.


